
sewing kit travel emergency is one of those phrases you only search after a button pops off in a rideshare, your hem drops right before a meeting, or luggage eats a strap you needed an hour ago. The good news, most clothing “disasters” on the road are small, fixable problems, you just need the right mini kit and a few reliable moves.
Travel sewing kits get treated like hotel freebies, tossed in a drawer, forgotten, then rediscovered with rusted needles and thread colors you’d never use. But a real emergency kit is less about having “everything,” more about covering the most common failures with tools that actually work.
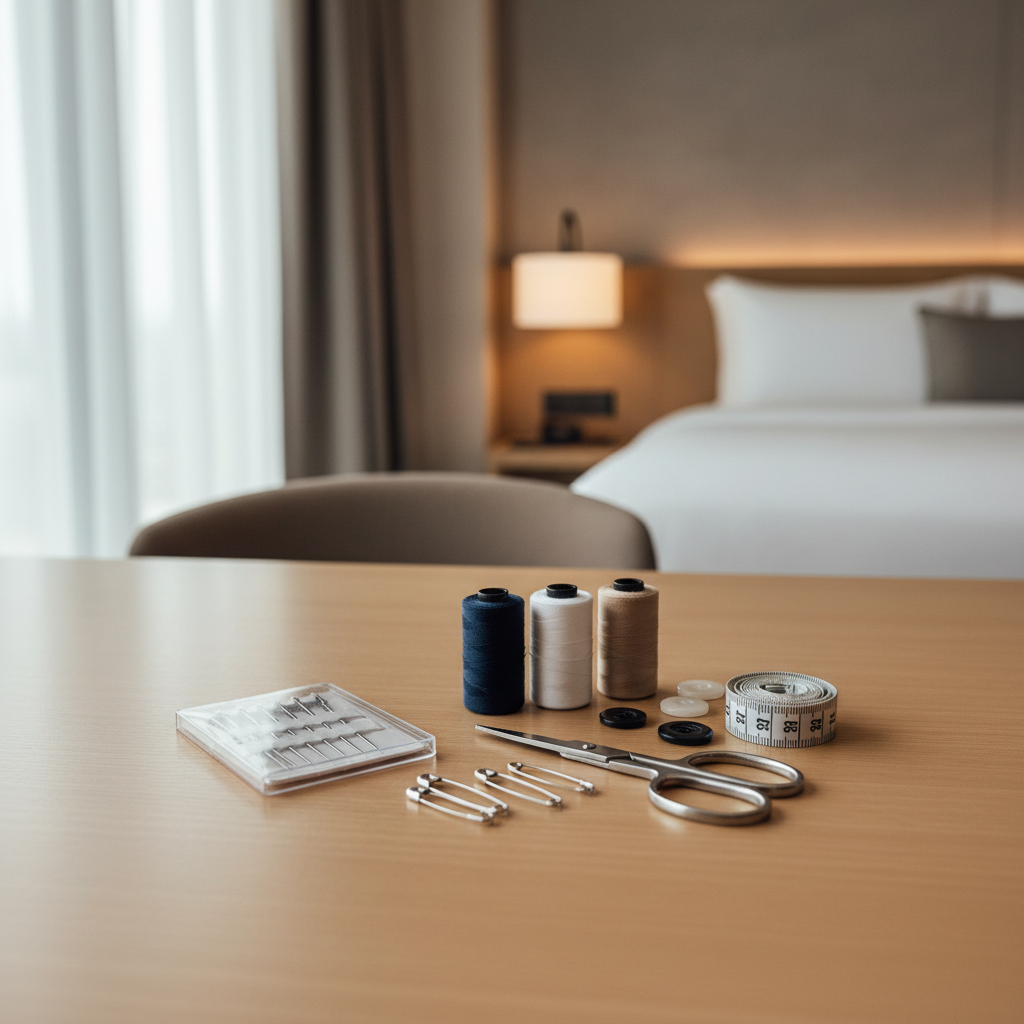
Below is a practical way to think about what to pack, how to use it fast, and when it’s smarter to stop patching and hand the item to a tailor or cleaner. I’ll also flag common mistakes that waste time, like the wrong thread tension or a “quick” knot that unravels before dinner.
What “Emergency” Really Means When You’re Traveling
A travel emergency isn’t couture-level repair, it’s “good enough to get you through the day.” Most fixes fall into a few buckets: a missing button, a popped seam, a fallen hem, or a snag that needs to be stabilized so it won’t run.
In many cases you’re working with bad lighting, no table, and a time limit, so your kit should prioritize speed and control over extras. This is also why duplicates matter more than variety, two needles and two safety pins beat twelve random notions you won’t touch.
According to CDC, carrying a small first aid kit while traveling can help you handle minor issues quickly; the same logic applies to clothing mishaps, a small prepared kit often prevents a small problem from turning into a ruined day.
What to Include in a Sewing Kit for Travel Emergencies
Think of your sewing kit travel emergency setup as a “minimal viable repair kit.” If it can reattach a button, close a seam, and shorten a hem temporarily, it earns its space.
Core items (the non-negotiables)
- Hand needles in two sizes: one standard, one finer for dress shirts and lightweight fabrics
- Thread in 3 practical colors: black, white/cream, and navy or gray (these cover most wardrobes)
- Small scissors or a thread cutter (TSA-friendly options vary, check current carry-on rules)
- Safety pins in at least two sizes (fast temporary closures and strap rescues)
- Mini seam ripper (optional but extremely useful when you need to undo a messy stitch)
- Spare buttons (match your most-worn blazer, coat, or travel pants)
Nice-to-have add-ons that solve real problems
- Needle threader if you hate squinting in hotel lighting
- Small thimble or silicone finger protector for thick fabric
- Fabric tape or iron-on hem tape for no-sew fixes
- Tweezers for pulling thread ends through tight weaves
- Mini measuring tape for quick hemming symmetry
Quick packing rule
If you can’t imagine using an item in under 5 minutes while standing near a mirror, skip it. Travel repairs are about getting moving again.
Fast Self-Check: Do You Need a Full Kit or a Micro Kit?
Not everyone needs the same setup. Use this to decide how serious your kit should be.
- Micro kit is enough if you mostly travel with casual clothes, can tolerate a safety-pin fix, and stay near stores.
- Full mini kit makes sense if you travel for work, wear tailored items, or routinely deal with straps, uniforms, or stage/event outfits.
- Add fabric tape if you often wear skirts, dress pants, or anything prone to hem drops.
- Add matching buttons if you have a “signature” blazer/coat you can’t replace mid-trip.
Quick Fixes You Can Do in a Hotel Room (Step-by-Step)
These are the repairs that cover most real-world travel mishaps. Keep expectations realistic: your goal is clean, secure, and not obvious from a conversational distance.
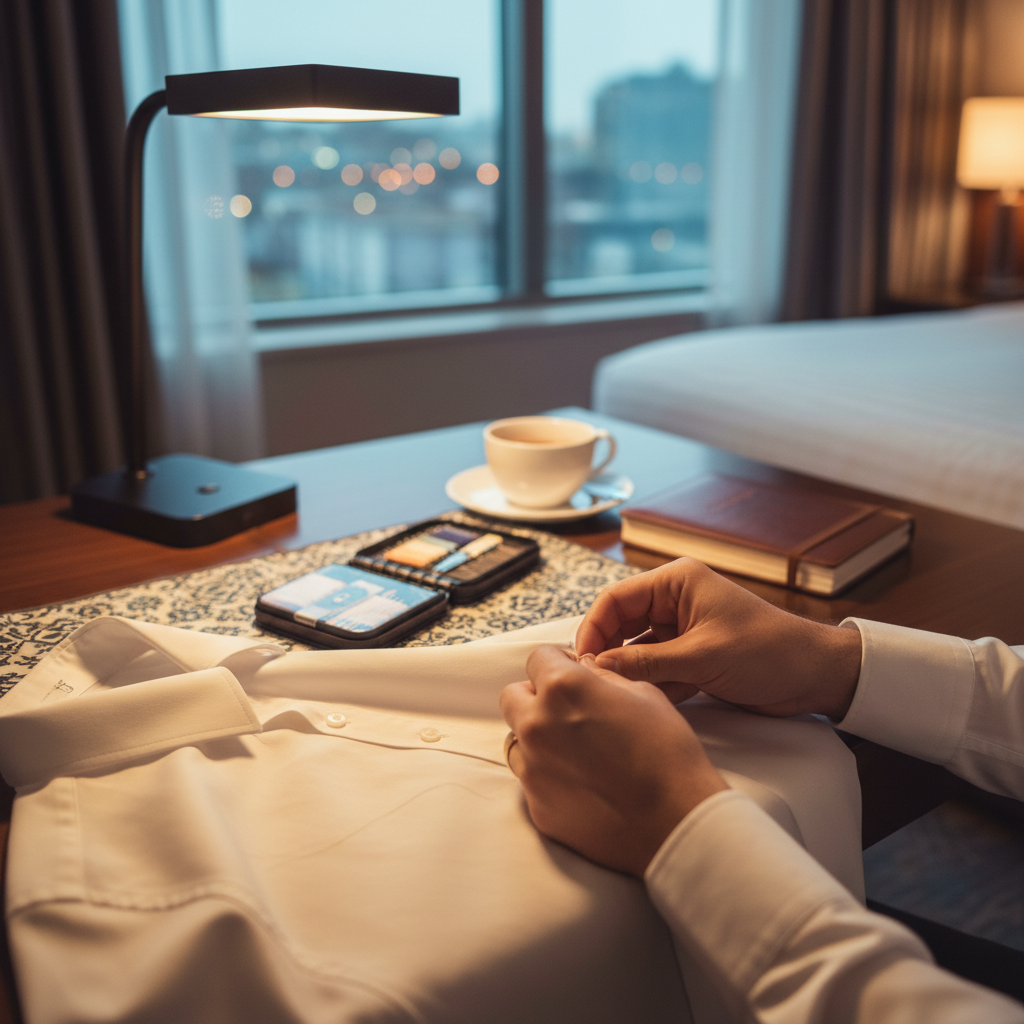
1) Reattach a button that popped off
- Thread the needle with a double strand, tie a firm knot.
- From the inside of the garment, come up through one hole, then cross to the opposite hole.
- Repeat 6–10 passes, keeping a tiny bit of slack if the button needs room (like on coats).
- Finish by wrapping thread under the button a few times to create a “shank,” then knot on the inside.
Fast tip: If the fabric is thick, use a toothpick or the tip of tweezers under the button while sewing to keep spacing consistent.
2) Close a small seam split (popped stitches)
- Turn the garment inside out, align the edges so the seam matches naturally.
- Use a simple whip stitch or ladder stitch, small bites, close spacing.
- Backstitch a few times at both ends so the repair doesn’t “walk open.”
If the area sits under tension, like inner thigh seams or jacket armholes, a travel fix may hold for the day but often won’t survive repeated wear without a stronger repair.
3) Fix a fallen hem without sewing
- Use fabric tape for a quick temporary hold, press firmly and give it a minute.
- If you have access to an iron, hem tape can be a cleaner semi-permanent option.
- No tape available: a couple safety pins placed from the inside can look surprisingly neat.
4) Stop a snag from becoming a run
- Don’t pull the thread.
- If possible, use a needle to pull the snagged loop back to the inside.
- For knits, a tiny dab of clear fabric-safe adhesive can help, but test cautiously, some fabrics stain.
What Works Best: Thread vs Fabric Tape vs Safety Pins (Comparison Table)
When you’re rushing, choosing the right method matters more than doing a perfect stitch.
| Fix method | Best for | Holds up | What can go wrong |
|---|---|---|---|
| Needle + thread | Buttons, seams, straps | Usually strongest | Visible stitches if tension is off, knots can slip |
| Fabric tape | Hems, quick edge control | Good for a day | Can peel with heat/sweat, may leave residue |
| Iron-on hem tape | Pants/skirts hem fix | Often longer lasting | Needs heat, can shine delicate fabric if overheated |
| Safety pins | Emergency closures, strap rescue | Surprisingly reliable | Can distort fabric, may prick skin, can pop open if overloaded |
Common Mistakes That Make Repairs Look Worse
Most people don’t fail because they can’t sew, they fail because they rush the wrong part.
- Using too-long stitches, big stitches gap open and look messy from the outside.
- Skipping reinforcement, a repair without a couple backstitches at the ends tends to unravel.
- Choosing the wrong thread thickness, heavy thread on a dress shirt looks obvious, fine thread on denim snaps.
- Cutting thread with teeth, it frays and the knot slips more easily.
- “Just one pin” mindset, two pins placed with intention usually looks cleaner than one overloaded pin.
Also, check your lighting. A phone flashlight aimed sideways across the fabric helps you see puckering before you leave the room.
When to Stop DIY and Get Professional Help
A sewing kit travel emergency can handle a lot, but some issues are better handed off, especially when the garment is expensive or the fabric is delicate.
- Zipper failures on jackets, jeans, dresses, often need proper parts and tools.
- Large tears in woven fabrics, patching can distort the drape, a tailor can reinforce cleanly.
- Leather, suede, technical outerwear (waterproof membranes, taped seams), wrong needle or adhesive can cause permanent damage.
- Formalwear with structure, like lined blazers or gowns, quick stitches can show through.
If you’re unsure, a local tailor or dry cleaner can usually tell you in a minute whether a repair is worth attempting. For anything involving sharp tools or adhesives near skin, use caution, and if you’re dealing with irritation or injury risk, it’s sensible to consult a professional.
Practical Packing Tips for a Kit You’ll Actually Use
The best kit is the one you can find in 10 seconds.
- Pack it in a small, clear pouch, not loose in a backpack pocket.
- Add a tiny card that says what’s inside, especially if you share luggage with family.
- Include one “confidence color” thread that matches your most common outfit.
- Do a 60-second refresh before each trip, replace bent needles and low thread.
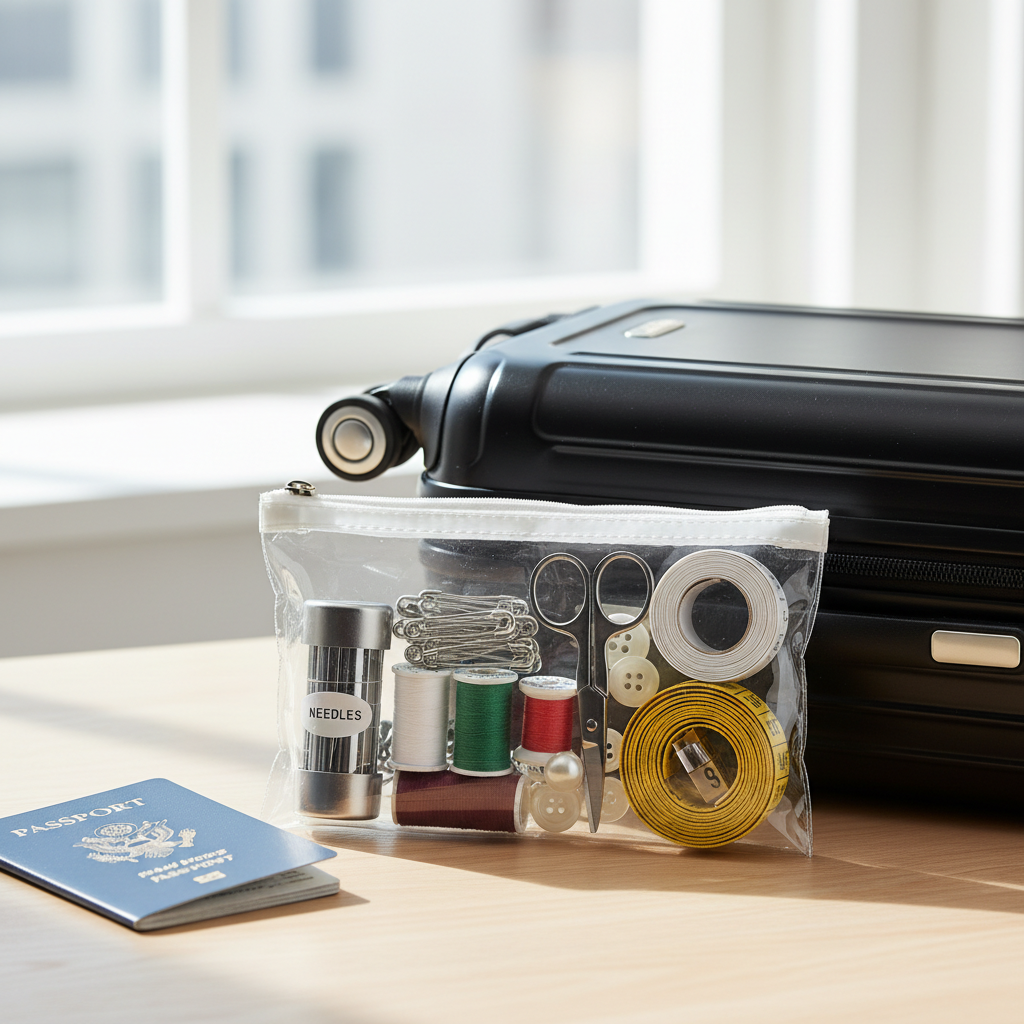
Key takeaways: prioritize a few reliable tools, match thread to your real wardrobe, and treat repairs as “get through today” unless you have time to do them properly.
Conclusion: A Small Kit, Fewer Travel Headaches
A travel wardrobe doesn’t need to be fragile, it just needs a backup plan. If you build a small sewing kit travel emergency setup around the repairs you actually face, you’ll handle most mishaps in minutes and move on with your trip.
If you want one action item, pick your top two garments to protect, usually a blazer/coat and your go-to pants, then add matching thread and spare buttons today. That tiny step prevents the most annoying “now what” moments later.
FAQ
What should be in a sewing kit travel emergency kit for business trips?
Prioritize matching thread (black, white, navy/gray), a strong needle, small scissors or cutter, safety pins, and spare buttons for your blazer or dress shirt. Business clothing shows sloppy repairs more easily, so thread color matters.
Can I bring small scissors in a travel sewing kit on a plane?
Rules can vary by country and can change, so it’s smart to verify before you fly. In the U.S., TSA generally allows small scissors under a certain blade length, but agents may use discretion, so a thread cutter can be a safer alternative.
Is fabric tape better than sewing for a quick hem fix?
For speed, fabric tape often wins, especially when you have no time or no steady surface. For a hem that must survive multiple wears, stitching or iron-on hem tape is usually more dependable.
How do I quickly fix a popped seam without it looking obvious?
Turn the garment inside out, align the seam carefully, then use small, tight stitches and reinforce at both ends. The “hidden” part is less about fancy technique and more about keeping tension even so the fabric doesn’t pucker.
What thread color should I pack if I only want one?
Pick the color that matches what you wear most often on trips. For many travelers it’s black or navy, but if you pack lots of light tops, cream can be the more useful single choice.
How do I fix a missing button if I don’t have a replacement?
A safety pin from the inside can hold a placket closed for the day, or you can move a less-visible button from another area if the garment design allows it. If it’s a coat or suit jacket, a tailor can usually source a close match.
When is it risky to DIY a repair while traveling?
When the fabric is delicate, the item is expensive, or the repair involves zippers and technical materials. In those cases, a temporary pin or tape solution may be safer until a professional can look at it.
If you’re building your first kit and want it to feel effortless, start with a small pouch that stays in your carry-on, stock it once, then refresh it every few trips. That’s usually the difference between “I meant to pack one” and actually having what you need when something breaks.