How to organize makeup for travel comes down to one thing: bringing fewer items, but the right ones, packed in a way that won’t leak, crack, or get lost at the bottom of your bag.
If you’ve ever opened a suitcase to find foundation on your clothes or spent ten minutes hunting for tweezers in a “makeup pouch black hole,” you already know why this matters. Travel makeup fails are messy, expensive, and somehow always happen when you’re running late.
This guide gives you a practical system: decide what to bring, protect what breaks, prevent leaks, and keep your “get-ready” routine efficient in a cramped bathroom. No fantasy packing lists, just what tends to work in real carry-ons and weekend bags.
Start with a travel makeup strategy, not a bigger bag
The fastest way to organize is to pick a strategy that matches your trip. Most people overpack because they plan for every possible look, then end up using the same five products anyway.
Try choosing one of these “kits” before you touch your vanity:
- Minimal kit (1–3 days): brows, base, cream color, mascara, lip, SPF.
- Work/event kit: minimal kit + one eye option + one long-wear lip + touch-up powder.
- Checked-bag kit: add full-size liquids and backups only if you truly need them.
A good rule: if a product requires a special brush, special lighting, and a steady 20 minutes, it rarely earns a seat in your travel bag.
Pick products that travel well (creams, sticks, minis)
When people ask how to organize makeup for travel, they usually mean “how do I stop the chaos.” Product format is half the battle. Creams and sticks often travel better than fragile powders because they’re less likely to shatter.
Travel-friendly swaps that usually make life easier
- Liquid foundation → skin tint, stick foundation, or decanted small bottle.
- Loose powder → pressed powder (less mess in a moving car or plane bathroom).
- Powder blush/bronzer → cream multi-stick for cheeks and lips.
- Full brush roll → 2–4 core brushes + one sponge (with a ventilated case).
Also consider climate. Hot and humid trips can melt creamy formulas, while dry destinations may make matte bases look tight. If you’re unsure, pack a small hydrating mist or a travel moisturizer and adjust as needed.
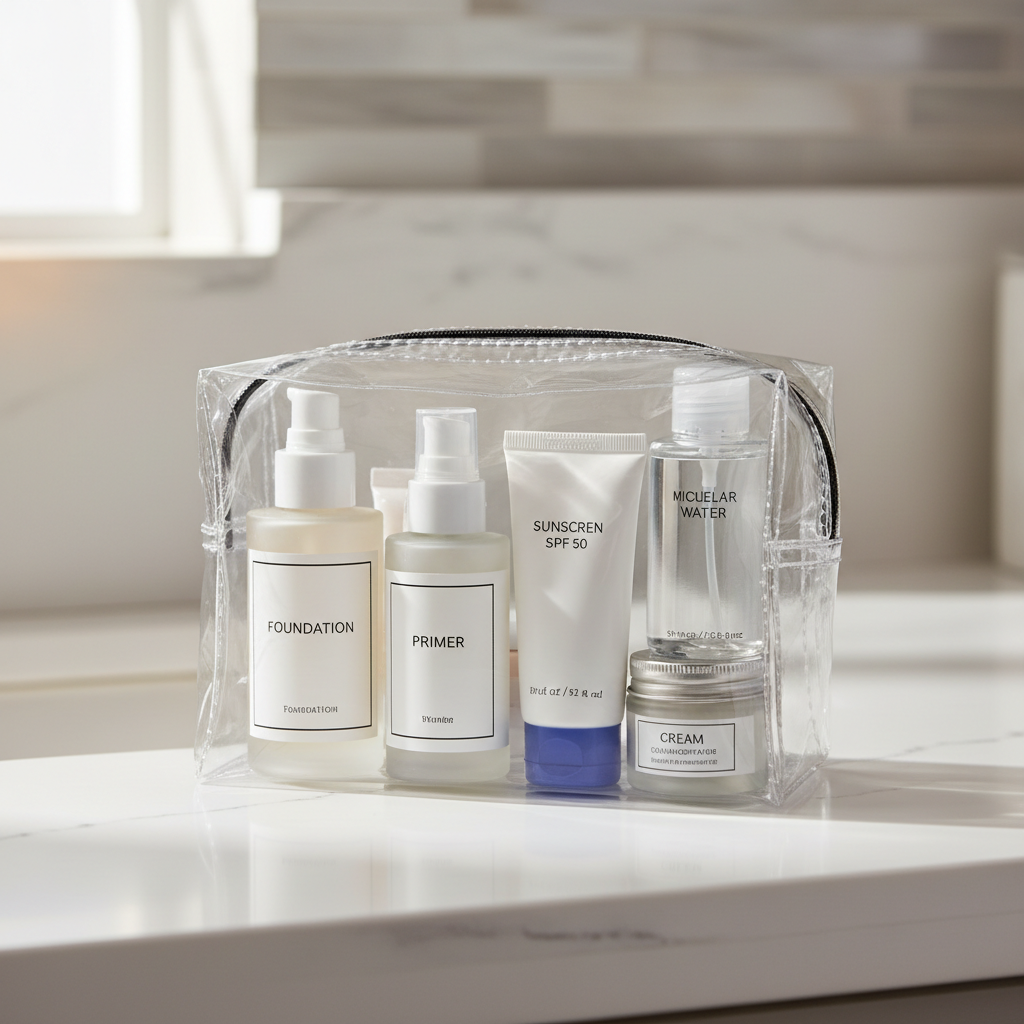
Understand TSA limits before you pack liquids
If you fly in the U.S., liquids and gels in a carry-on generally need to fit the familiar size rules. According to Transportation Security Administration (TSA), carry-on liquids must follow the 3-1-1 guideline: containers up to 3.4 oz, inside 1 quart-size bag, 1 bag per traveler.
Even if you know the rule, the practical takeaway is simpler: group liquids together, reduce duplicates, and keep the pouch easy to pull out.
If a product is borderline, treat it as a liquid and pack it in the clear bag. It saves you an awkward checkpoint decision.
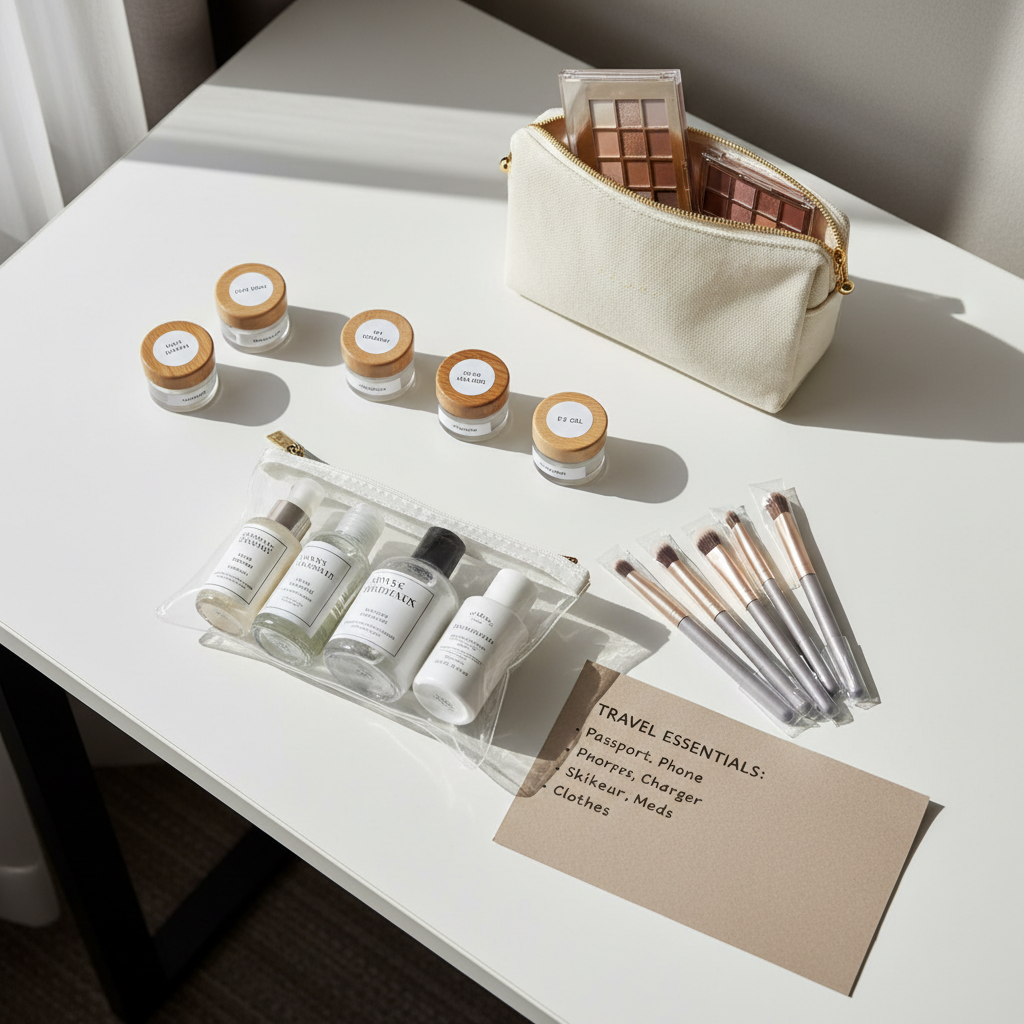
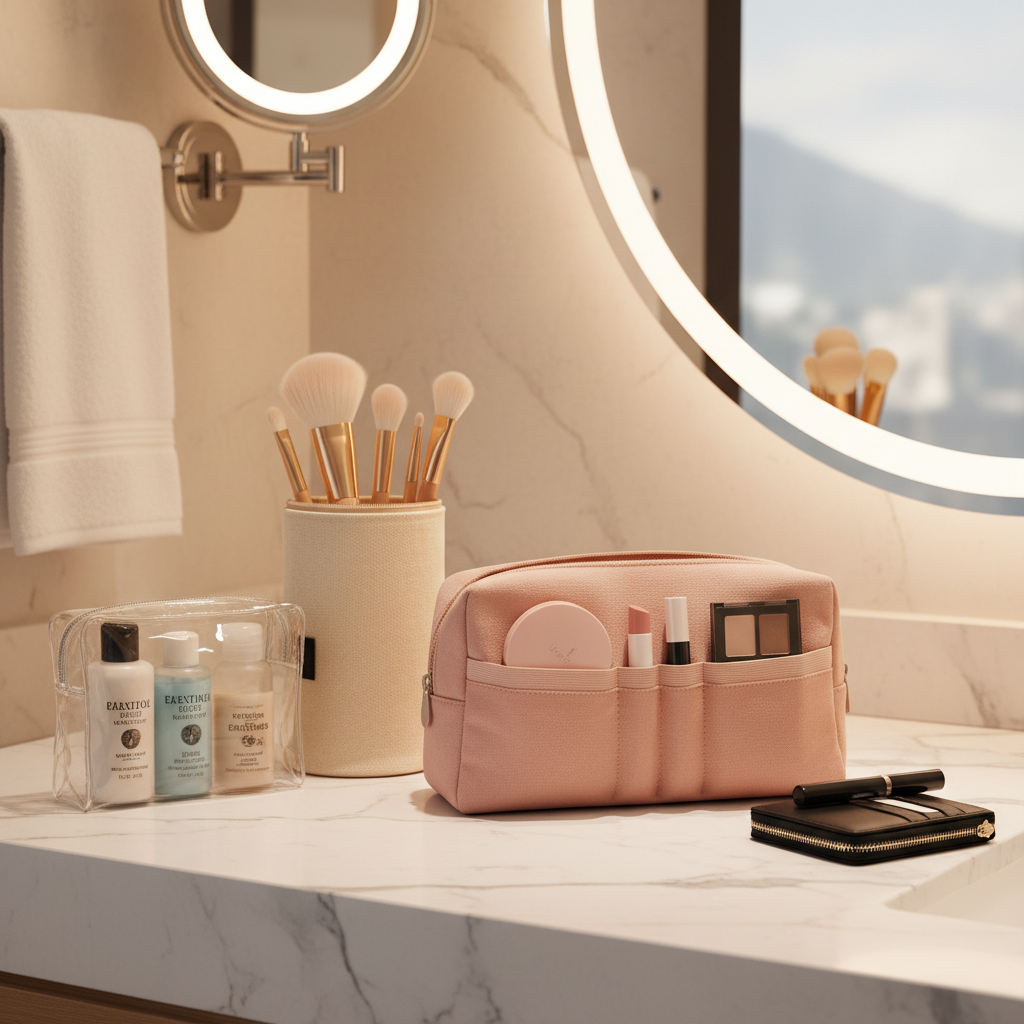
Use a simple organization system: zones + containers
Here’s the organizing move that actually holds up on the road: create “zones,” then assign each zone a container. You’re building a repeatable setup, not a one-time perfect packing photo.
Zone method (easy to maintain)
- Liquids zone: clear TSA pouch (primer, skin tint, SPF, mini cleanser).
- Color zone: small makeup bag (concealer, blush stick, mascara, lip).
- Tools zone: slim brush pouch or side pocket (brushes, sponge case, tweezers).
- Emergency zone: tiny zip pouch (bobby pins, mini lash glue, blotting papers).
This is also how to organize makeup for travel if you share space with a partner or friends: each zone stays contained, so you don’t “take over” the whole bathroom counter.
Prevent leaks and breakage (where most travel disasters happen)
Leaks usually come from pressure changes, loose caps, or thin packaging. Breakage usually comes from loose compacts and unprotected palettes. Fix those two and your bag stays clean.
Leak-proofing steps that are worth the minute
- Place a small piece of plastic wrap over bottle openings before tightening caps.
- Use decant containers with tight threads and avoid flimsy “sample pots” for thin liquids.
- Bag liquids inside the clear pouch even if you’re checking luggage, it contains accidents.
Breakage prevention that doesn’t require bubble wrap everywhere
- Pack powders near soft items (like a folded top) rather than against hard edges.
- Skip oversized palettes unless you genuinely use most shades.
- Add a thin cotton pad inside compacts if they tend to crack in transit.
If something is both expensive and fragile, ask yourself a blunt question: would you be upset if it arrived broken? If yes, leave it home.
Packing checklist: what to bring for common trip types
If you want a fast answer to how to organize makeup for travel, this table helps you match your kit to the trip without overthinking.
| Trip type | Bring | Skip or swap | Container setup |
|---|---|---|---|
| Weekend city trip | Skin tint, concealer, brow gel, mascara, cream blush, lip | Full foundation, extra palettes | 1 small makeup bag + TSA liquids pouch |
| Beach/humid climate | SPF, tinted moisturizer, waterproof mascara, setting spray | Heavy powders, sticky glosses | Liquids pouch prioritized, color bag minimal |
| Business trip | Neutral eye option, long-wear base, mini fragrance, blotting sheets | Experimental colors | Zones + small “touch-up” pocket kit |
| Wedding/event | Long-wear lip, mini lash kit, concealer, setting powder | Bulky skincare backups | Add emergency pouch for fixes |
Quick self-check: is your travel makeup kit organized enough?
Before you zip the bag, run this quick check. If you hit two or more “no” answers, you’ll probably feel friction on the trip.
- Can you do your face in under 10 minutes using only what’s packed?
- Are liquids grouped together so you can pull them out quickly at security?
- Do you have one touch-up item that matters most for you (lip, powder, concealer)?
- Are brushes protected so they don’t get fuzzy or dirty in your bag?
- Is there space to close the bag easily without forcing zippers?
One more gut-check: if repacking feels annoying at home, it usually feels worse in a tiny hotel bathroom with bad lighting.
Common mistakes that make travel makeup harder than it needs to be
A lot of “organization” advice fails because it ignores real constraints: time, space, and the fact that travel days are unpredictable.
- Bringing too many backup options: backups make sense for essentials, not for five lip colors you won’t use.
- Mixing skincare, makeup, and tools in one pouch: this is how caps open and brushes get greasy.
- Not labeling decants: after two days, everything becomes “mystery lotion.”
- Packing new formulas for the first time: if your skin reacts, you’re stuck. If you have sensitive skin, consider asking a dermatologist what’s safe for you.
- Forgetting removal: makeup wipes are convenient, but a small cleanser and soft cloth often feels better, depending on your skin.
Key takeaways + a simple action plan
If you only do three things, you’ll cover most of what matters: reduce your kit to what you actually use, separate products into zones, and protect liquids and powders so they don’t ruin the rest of your bag.
- Tonight: build a 10-minute face kit, then remove anything that doesn’t support it.
- Before you leave: pack liquids in a clear pouch, label decants, and seal caps.
- On arrival: set up your zones on the counter so you stop “digging” every morning.
If you want to get consistent about how to organize makeup for travel, keep your travel kit partially packed between trips, then restock as you go. That habit saves more stress than any fancy bag ever will.