
Travel photography spots are easier to find when you stop chasing “famous places” and start looking for repeatable ingredients: good light, clean sightlines, local texture, and a clear subject.
If you have ever come home with photos that feel flat, it is usually not your camera, it is the spot choice and the timing. The same viewpoint can look incredible at golden hour and completely dull at noon, and some places only work if you know where to stand.
This guide narrows down location types that consistently produce “nice photos” in real travel conditions, then gives you a quick way to scout, plan, and shoot without turning your trip into a military operation.
What makes a location a “good” travel photo spot (beyond being popular)
A lot of “best spots” lists confuse popularity with photogenic value. In practice, the most reliable travel photography spots share a few traits you can evaluate fast, even if you have never been there.
- Light options: open sky for soft light, side light for texture, or shade you can use as a giant diffuser.
- Foreground and depth: a leading line, frame, or layered background so the image feels three-dimensional.
- Clear subject separation: your subject can pop without visual clutter, even with a phone camera.
- Camera angles you can access: a viewpoint, rooftop, boardwalk, or safe shoulder where you can pause without blocking people.
- A story hook: local details, weather, culture, or scale that tells viewers where you are.
According to National Park Service guidance on outdoor safety, conditions change quickly in many scenic areas, so your “spot quality” also depends on weather, visibility, and access at that moment. Build flexibility into your plan, not just a pinned location.
High-yield travel photography spots by category (with what to shoot there)
Rather than naming one-off places, it is more useful to recognize categories. These are the types of travel photography spots that tend to work in many U.S. destinations, from big cities to small coastal towns.
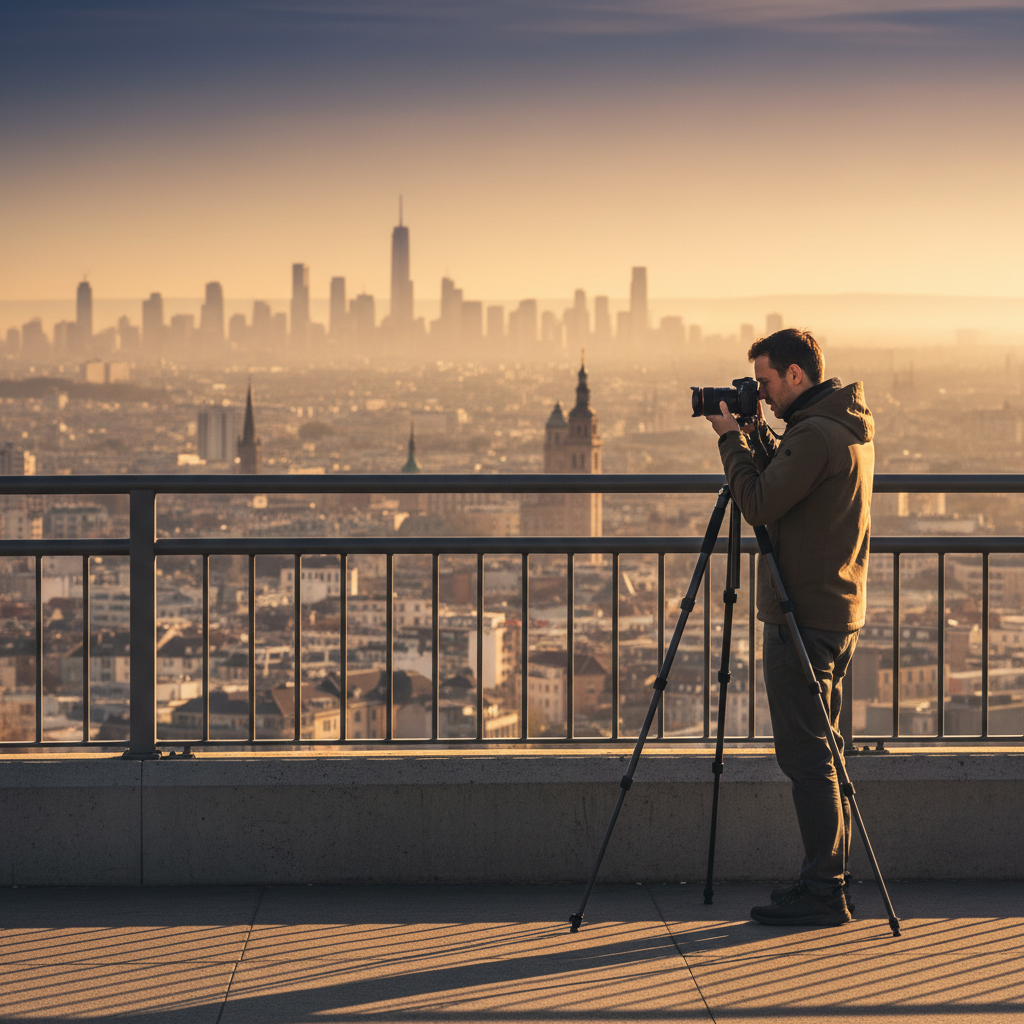
1) Scenic overlooks and ridgelines
These are the classic “wow” shots, but they fail when the foreground is empty. Add a person, a railing line, or a nearby tree to create depth.
- Best time: sunrise or late afternoon for shape and haze control
- Try: vertical framing with a small subject for scale
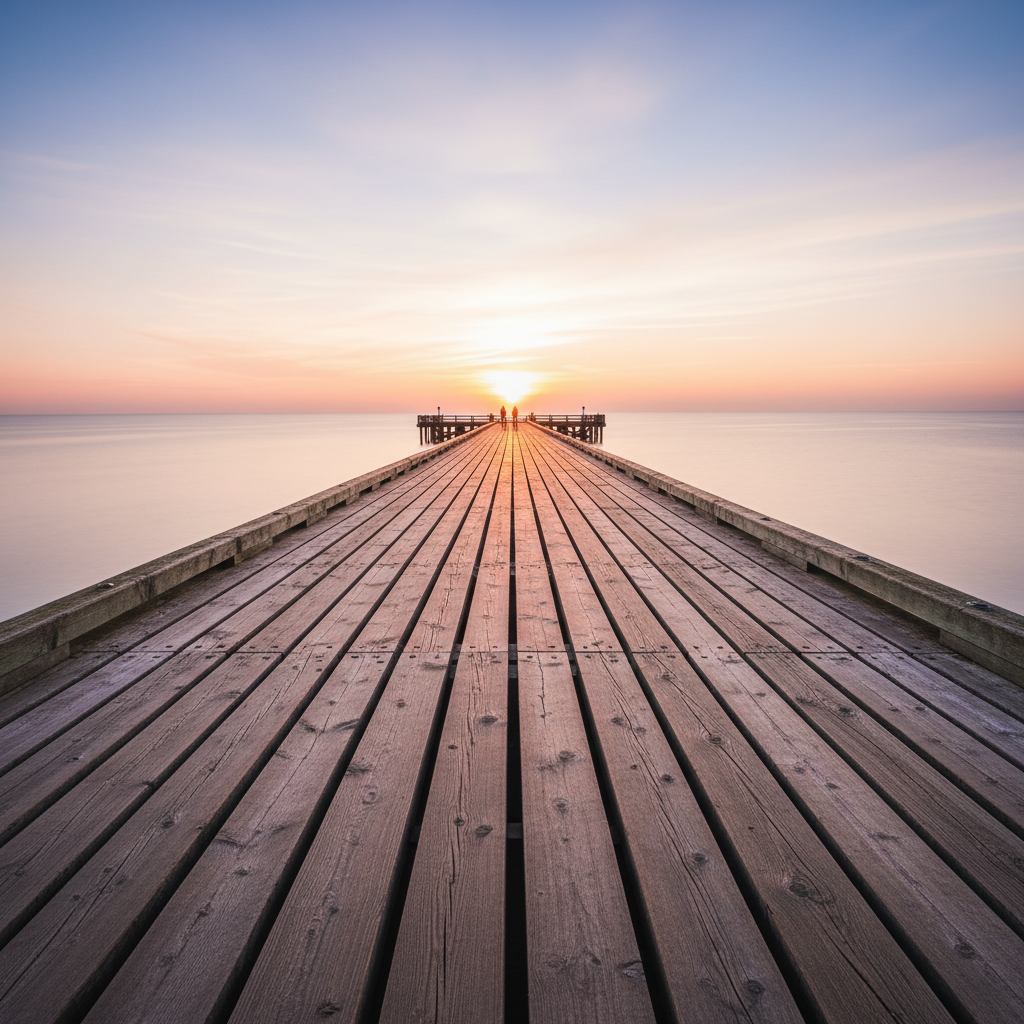
2) Waterfronts: piers, marinas, and lake edges
Water gives you reflections, cleaner backgrounds, and a built-in leading line. Wind matters, calm mornings usually look smoother.
- Best time: blue hour for city water reflections, golden hour for warm highlights
- Try: slow shutter on a tripod if you have one, or steady your phone on a railing
3) Old town streets, alleys, and historic districts
Texture and repeating patterns do the heavy lifting here. Look for doorways, signage, and cobblestone lines that pull the eye.
- Best time: early morning to avoid crowds and harsh shadows
- Try: candid “walk-through” shots with a longer focal length or portrait mode
4) Markets and food halls
If your trip photos feel generic, markets fix that fast. Color and motion give your images life, but be mindful of local rules and personal space.
- Best time: when vendors are fully stocked, often mid-morning
- Try: one clean hero subject, then tighter detail shots (hands, ingredients, packaging)
5) Parks, gardens, and arboretums
These spots can look “too green” unless you find structure: arches, paths, benches, or a single tree with space around it.
- Best time: overcast days for even skin tones and saturated color
- Try: framing through leaves or flowers for a natural vignette
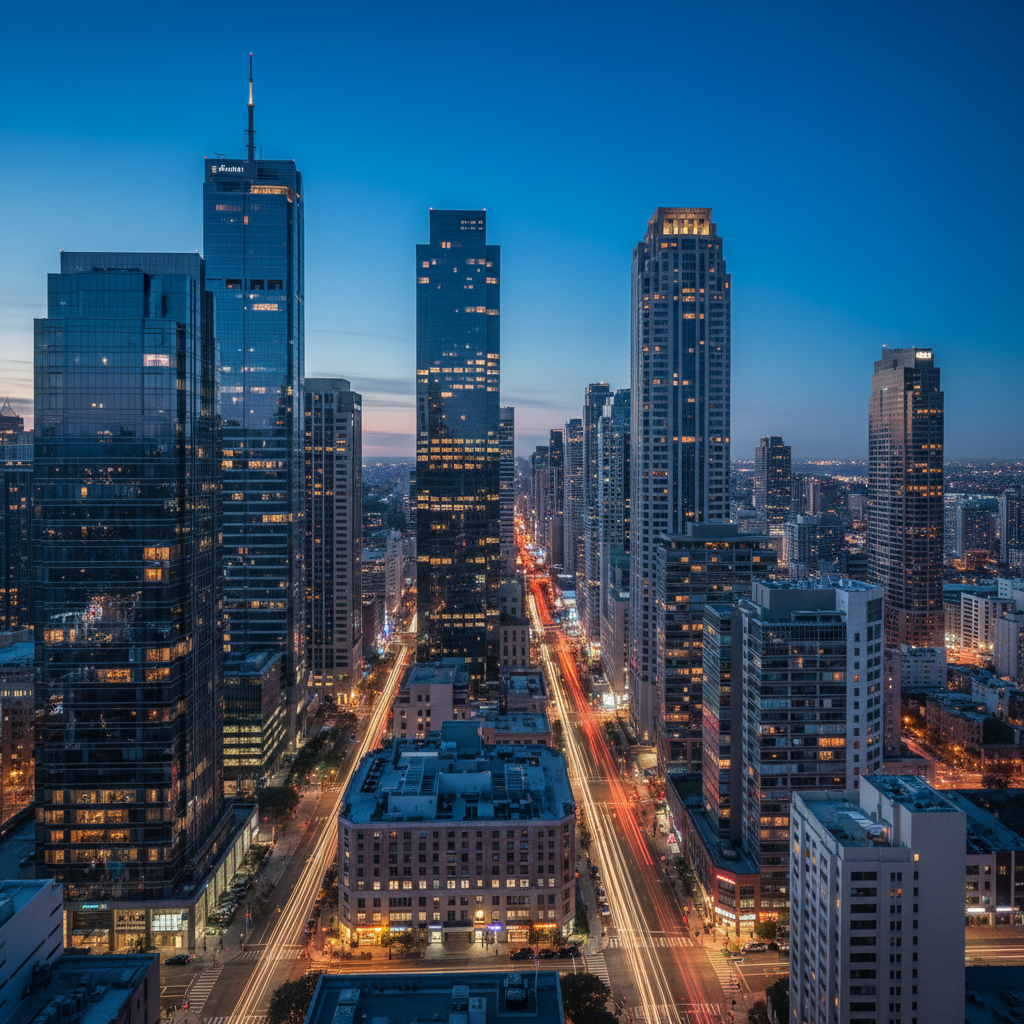
6) Rooftops, parking garages, and bridges (the practical viewpoints)
Not glamorous, but very effective. Elevated angles simplify messy streets and help you shoot symmetry and traffic trails.
- Best time: dusk into night for city lights
- Try: centered compositions and strong vertical lines
Quick self-check: is this spot worth stopping for?
When you are walking around, decision fatigue is real. Use this short checklist to decide if a location deserves 10 minutes or just a quick snapshot.
- Can I name the subject in one sentence? If not, the photo will probably feel messy.
- Do I have a foreground? Even a curb line, plant, or person works.
- Is the background cleaner if I move 10 steps? Small shifts often fix trash cans, signs, and random heads.
- Is the light helping me? Side light adds texture, shade softens faces, backlight needs deliberate exposure.
- Do I have a safe place to stand? If you feel rushed or unsafe, the shot quality drops fast.
If you answer “no” to most of these, keep walking. That is not giving up, it is choosing better travel photography spots with your limited time.
A practical game plan: how to find great spots in any destination
You do not need a massive shot list, but a little structure helps you avoid random, low-quality wandering.
Use three layers of scouting
- Map layer: pin 6–10 candidates, mix viewpoints, street scenes, and one wildcard
- Street layer: arrive and walk one extra block past the obvious entrance
- Light layer: revisit one strong location when the light changes
Know what to search (better than “best photo spots”)
- “overlook” “viewpoint” “scenic drive pullout”
- “pier” “boardwalk” “marina”
- “historic district” “main street” “arts district murals”
- “botanical garden” “arboretum”
- “rooftop bar” or “parking garage top floor” for city angles
According to U.S. Geological Survey (USGS) guidance on map use and terrain awareness, map context matters for safety and route planning. Even in a city, that mindset helps you avoid dead ends and bad access points.
Shot ideas that make “nice photos” look intentional
Once you land in a good place, you still need a simple structure. These are reliable mini-recipes that work across many travel photography spots.
- One wide, one medium, one detail: establish the scene, isolate the subject, capture texture.
- People for scale: a single person often beats a crowded frame, even if they are tiny.
- Frames within frames: doorways, arches, tree branches, bridge spans.
- Leading lines: paths, fences, piers, shadows, shoreline curves.
- Wait for a clean moment: the shot usually improves if you pause 20 seconds.
Best times, best conditions: a simple planning table
Timing is the quiet advantage. Here is a quick reference you can use while building your day around your top travel photography spots.
| Spot type | Best light window | What you get | Common pitfall |
|---|---|---|---|
| Overlooks | Sunrise / late afternoon | Depth, texture, atmosphere | Empty foreground, midday haze |
| Waterfronts | Blue hour / calm mornings | Reflections, clean lines | Wind chop, blown highlights |
| Historic streets | Early morning / overcast | Texture, fewer crowds | Harsh midday shadows |
| Markets | Mid-morning | Color, story moments | Cluttered frames, awkward distance |
| City rooftops/bridges | Dusk to night | Lights, symmetry, trails | Camera shake, blocked access |
Common mistakes (and the fixes that actually work)
A few habits quietly ruin otherwise great locations. Fix these and your hit rate jumps, even with basic gear.
- Shooting everything at eye level: crouch, step up, or shoot through a foreground element.
- Over-editing travel color: heavy saturation can make skies and skin look unnatural, keep it believable.
- Ignoring “edge cleanup”: scan your frame edges for poles, signs, half-people, and bright distractions.
- Forgetting local etiquette: some religious sites, markets, and private businesses restrict photos.
- Chasing dangerous angles: cliffs, roads, and rooftops can turn risky fast, use caution and follow posted rules.
According to Centers for Disease Control and Prevention (CDC) travel guidance, staying aware of your surroundings reduces risk in unfamiliar places. For photography, that often means looking up from your screen, especially near traffic, water, or uneven ground.
When it makes sense to get extra help
If you are traveling for a proposal, a brand shoot, or a once-only family trip, hiring a local photographer or booking a short photo walk can be worth it. You are paying for access, timing, and someone who knows which travel photography spots are crowded at 4 p.m. versus empty at 8 a.m.
If you plan to fly drones or shoot in regulated areas, rules vary by location and change over time, so it is smart to check official guidance and, when in doubt, consult a qualified professional.
Key takeaways to remember in the moment
- Pick spots with light options, not just famous names.
- Build depth: foreground plus background beats “pretty background only.”
- Revisit one location when the light changes.
- Move your feet: 10 steps can remove 80% of clutter.
Conclusion: make your next trip photos feel less random
Nice travel photos usually come from a simple pattern: choose higher-yield travel photography spots, show up when the light helps, then shoot a few intentional variations instead of 40 near-identical frames.
Your next step can be small: pin three spot categories for your destination, plan one sunrise or dusk session, and give yourself permission to walk away from locations that do not pass the quick checklist.
FAQ
What are the best travel photography spots if I only have one day?
Pick one viewpoint, one walkable street district, and one sunset or blue-hour waterfront. That mix gives variety without wasting time crossing town all day.
How do I find travel photo locations without copying everyone else?
Use the same “spot ingredients” but change the angle: shoot one block away from the landmark, include foreground layers, and prioritize different light (early morning often feels fresher than midday).
Are travel photography spots different for phone cameras vs. dedicated cameras?
A little. Phones love clean scenes and even light, so shaded streets, waterfronts, and minimal backgrounds tend to look better. Dedicated cameras give you more flexibility in low light and depth of field, but the spot choice still matters most.
What time of day is best for nicer travel photos?
Golden hour and blue hour are reliably flattering, but overcast weather can be fantastic for street scenes and portraits. Midday can work if you use shade, interiors, or strong graphic compositions.
How do I deal with crowds at popular spots?
Arrive early, or shoot tighter details instead of wide postcards. Another trick is to wait for gaps and keep your framing ready, most crowds move in waves.
Is it okay to photograph people in markets or on the street?
It depends on local norms and the specific setting. When you are close, asking or using a friendly gesture often avoids conflict, and in sensitive places it is better to skip the shot.
What should I pack for scouting and shooting spots efficiently?
Comfortable shoes, a small microfiber cloth, a portable charger, and a lightweight tripod if you want night shots. If you carry a camera, one versatile lens is usually more useful than switching lenses constantly.
How can I tell if a viewpoint is safe to access?
Stick to marked trails and public platforms, follow posted signs, and avoid edges in wind or low visibility. If anything feels off, it is a good reason to back away and find a safer angle.
If you are planning a trip and want a more targeted shortlist of travel photography spots based on your destination, travel style, and gear, a simple route plan plus a time-of-day shot checklist can save you a lot of trial and error.